To create a report as described in Custom Reports, follow these five steps:
| 1. | Set print options and paper size: First, using the radio buttons, choose whether all pages will be printed on the same printer, or whether the cover page will be printed on a different printer than the following pages. Click Next to proceed, or Back to return to the Project Wizard welcome screen. Then set the printer for the report from the available printers (to change a printer from the default setting, click Choice, which will invoke the Print Setup dialog box). Then select whether you wish the print to cover the page format, or the available printing area of the page, using the Force Page Format(s), if possible and Use physical paper size and not the printable area check-boxes. Click Next to proceed to Step 2, or Back to return to the initial printer screen. |
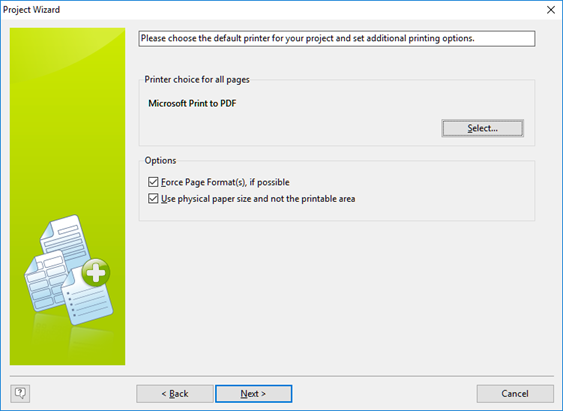
The Project Wizard screen setting some print options, as described above.
| 2. | Set options for page numbering and title: AssetManage's default setting is to number pages, so if you do not wish to have numbered pages, uncheck the Add Page Numbering check-box. Then, under Options for the title, using the radio buttons, choose whether your report title will appear only on the first page or on every page of your report. Click Next to proceed to Step 3, or Back to return to step 1. |
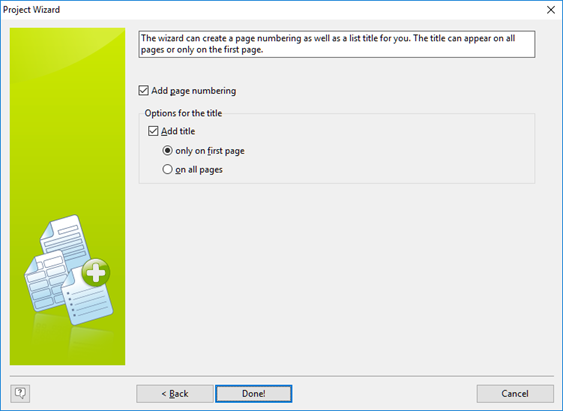
Setting page options and title in the Project Wizard.
| 3. | Choose Object Type: You To create a report with a single table, simply select the Table option. |
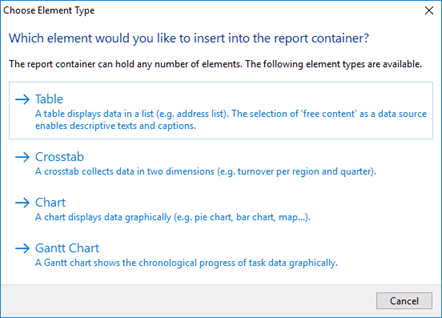
Choose Object Type.
| 4. | Choose the table that will be used for the report: AssetManage can create reports based on data from different sources. The report designer can also create nested tables. Choose the table that will be used as the initial base table for this report. For this example, we will select the Asset table. |
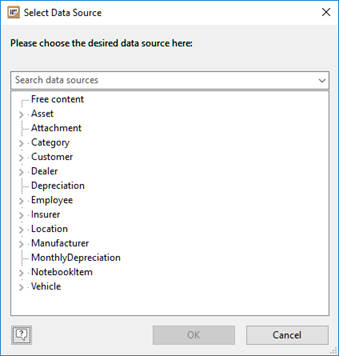
Select Source Table screen in the Project Wizard.
| 5. | Choose the data for the list: This box lets you choose which data goes into the report. Click on entries in the Available Fields box to select them (Ctrl+click to select multiple entries, Shift+click to select multiple sequential entries), then use the > arrow to move the selected entries to the Selected Fields box. To move all available fields, click the >> button. To remove fields from the Selected Fields box, click the < button. To remove all fields from the Selected Fields box, click the << button. You can also sort the selected fields into whatever order you like (the default is the order in which they're selected) by clicking on them to highlight them, then using the up- and down-arrow keys to move them up and down the list to their desired places. Unchecking the Add Column Titles check-box at the bottom right will remove headings from the report. Click Next to proceed to Step 6, or Back to return to step 4. |

Populating the list with data, using the Available and Selected Fields boxes in the Project Wizard.
| 6. | Create Your Report: When you have selected all the data to be included, and sorted it as you want, click OK to proceed through the Project Wizard to the Label and Report Designer, or Cancel to escape the Project Wizard without generating a report. |
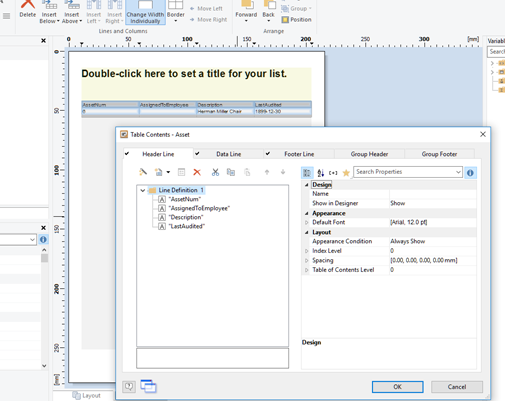
The Label and Report Designer interface.