AssetManage can import delimited text files, Microsoft Access database files and Microsoft Excel spreadsheets. Not only can you import data pertaining to assets, but you can also import Dealer, Employee, Customer, Manufacturer and Insurer information. If you have been using another application to store your data, check to see if the application has the option to export data. Many programs allow you to export to a .CSV (comma separated variable file).
Tip: The formatting of Microsoft Excel spreadsheets sometimes causes problems with the AssetManage import feature. If you are having trouble importing an Excel Spreadsheet save the spreadsheet as a CSV file and then try the import again. |
: To import asset data into AssetManage
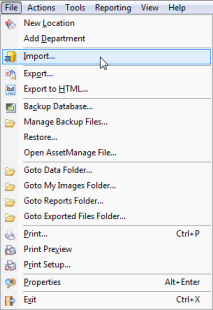
1. Select Import... from the File menu
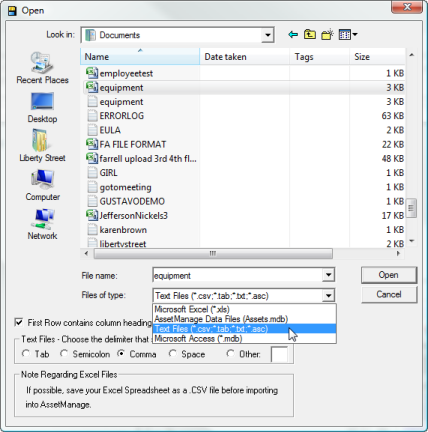
2. Choose a Text File (.csv, .tab, .txt, .asc), Access (.mdb) or Excel (.xls) file. and then select the Open button.
3. AssetManage will show the field structure of the file to be imported in the Source Field Names column. You will also see the first few rows of data from the import file. To select a Destination Field for each column, click on the appropriate row and column within the Destination Field. Then select the appropriate column from the drop-down list that appears.
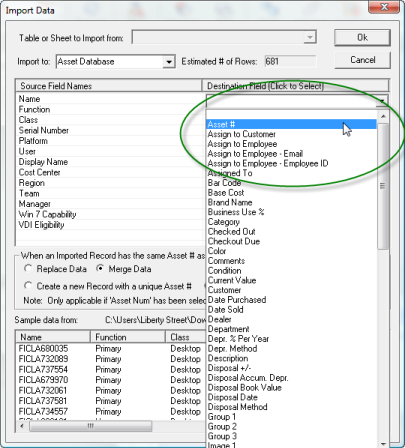
4. Do this for all the columns in the Source Field Names section that you want to import.
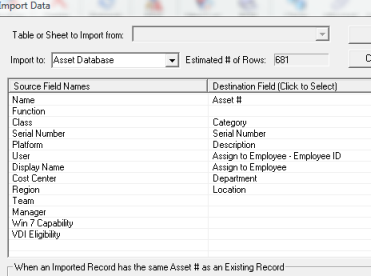
5. Click on the OK button to begin the import.
Notes regarding the import feature:
•The Assigned to Employee destination field should contain the name of the employee. A new employee record will be created automatically with the specified name if it does not already exist.
•The Assigned to Employee - Email and Assigned to Employee - Employee ID will only import data if the Assigned to Employee field is used as well.
•If no field is mapped to the Asset # field, AssetManage will create random unique asset numbers for every asset imported.
•The Assigned to Customer destination field should contain the name of the customer. A new customer record will be created automatically with the specified name if it does not already exist.
•If no source field is mapped to the AssetManage Location field, all the data will be imported into the currently open Location.
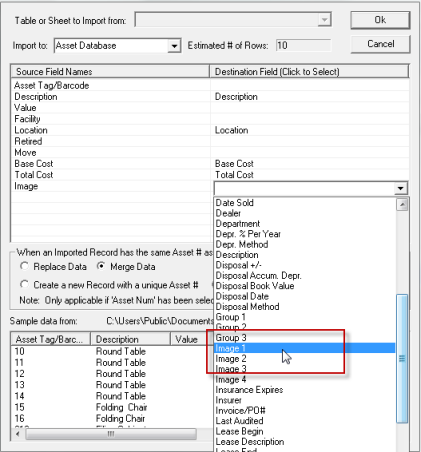
: To import images
1. Select Image 1, 2, 3 or 4 as the destination column. Make sure the FULL pathname of the image is specified in the file to be imported Image column. You can also import images directly from the internet. The FULL URL of the image must be specified in the Image column of the file that is being imported.
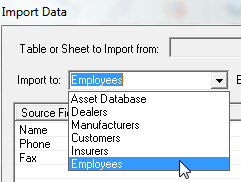
: To import Employee and other data into AssetManage
1. Select Employees or whatever type of data you want to import.