: To add an item
There are numerous ways to begin adding items in AssetManage.
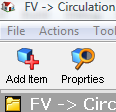
1. Select Add Item(s) from the Actions menu, as shown below.

2. Click the Add Item(s) button on the Toolbar, as shown below.
3. Use the Keyboard shortcut: Ctrl+N
4. Click using your right mouse button within the AssetManage window and select Add Item(s) from the menu that appears, as shown below.
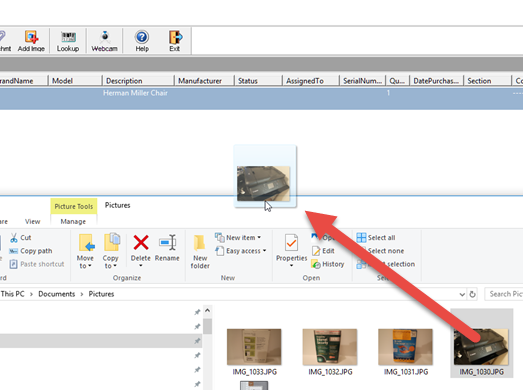
5. You can also create a new item by dragging image files into the AssetManage list view. The example below will launch the Add Item(s) dialog with the selected image of a CANON printer as the initial image. AssetManage supports most major image types including JPG, BMP, GIF, TIFF, PNG, WMF, ICON and EMF.
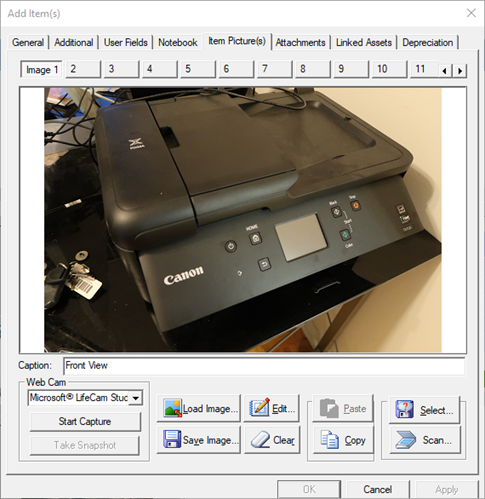
The Add Item(s) dialog, showing the image as described above.
: Add items using Barcode lookup
This feature lets retrieve production information and photos for an asset, simply by scanning the item's barcode.
A barcode scanner is required. To scan barcodes with an iPad, iPhone or Android device, you can use
Barcode To PC this is a software product that will allow direct scanning of barcodes from any iOS or
ANDROID device directly to AssetManage. See:
for more information.
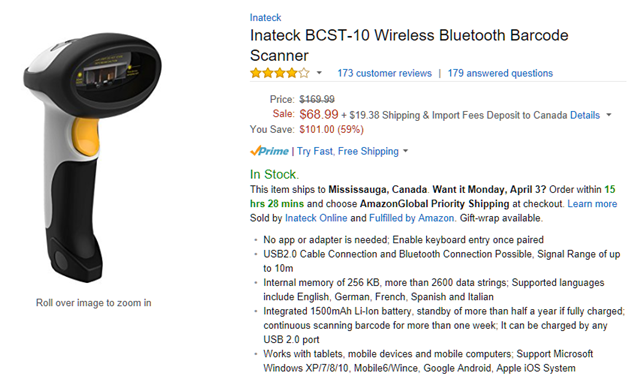
AssetManage also supports a traditional barcode scanner...we recommend the INATEK BCST-10,
but most barcode scanners will work fine.
1. Select Add Item(s) using Barcode Scan... from the Actions menu.
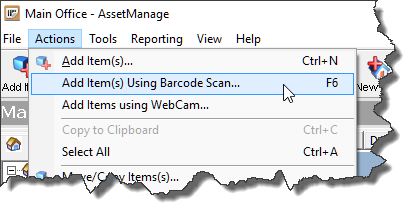
Or press the F6 key
2. With the keyboard cursor in the barcode field..scan the barcode on the item. A successful scan will set the barcode
field with the barcode that was scanned. Other fields will also be automatically filled such as: Category, Description,
Manufacturer, model number and brand name. In most cases an image of the item will be downloaded from the
online barcode database.
If you don't have a barcode scanner you can manually enter the barcode and then press ENTER or click the Lookup button.


If the item is not found in the online barcode database, you will need to manually enter the product information.
: To add an item using Images
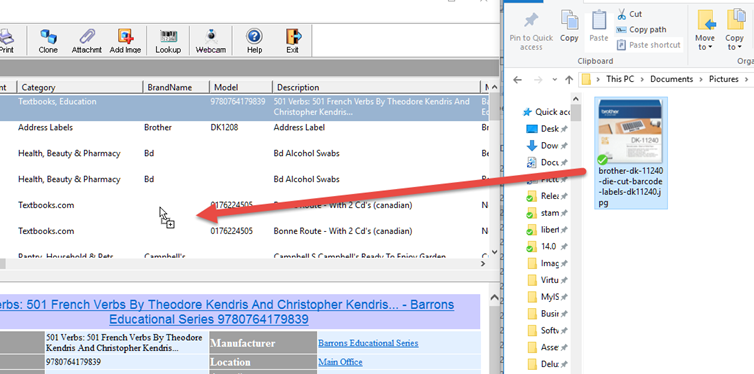
1. "drag" one or more image files from your Window File Explorer into the AssetManage asset list window.
the Add Item dialog will appear with the image(s) already associated with the new asset. Fill in additional item information
and then click on the Ok or Apply button to save the asset.
: To add an item using Your Webcam
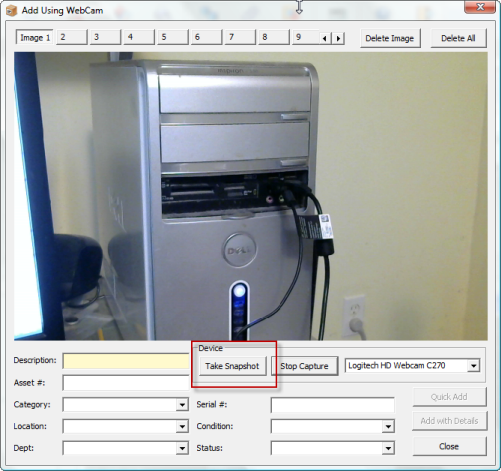
If you have 1 or more Webcams attached to your computer, they can be used to take pictures of assets.
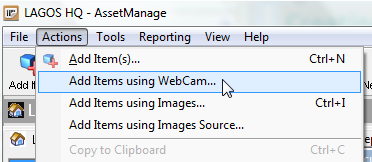
1. Select Add Items using WebCam... from the Actions menu.
2. Click on the Take Snapshot button to take a picture using the WebCam.
3. Use the Quick Add and Add With Details... buttons to add an asset with the pictures taken using your WebCam.
: Check for duplicate entries
To prevent the same asset from being entered multiple times, AssetManage has a Check button for both the Serial # & Asset # fields.

Press the Check button to verify that another asset with the same Asset # or Serial # has not been entered previously.